|
|||||
|
|
|
|
|
|
Download this tutorial for printing.
Fine Folly Glassworks
Presents
How To Make
BIG HOLE BEADS
also known as
European Charm Beads,
Pandora, Biagi & Troll Beads
SO, WHAT ARE THEY CALLED?
These beads have many names – Pandora beads, Biagi and Troll beads, European Charm
Beads, and lastly Big Hole Beads. Whatever you call them they are addicting to make.
This Tutorial will show you how to make a surface decorated Big Hole Bead (BHB) with COE
104 glass using a Hothead Torch or it's generic equivalent. Any torch can be used with this
Tutorial, but if you are on a different torch please realize that your torch will be significantly
hotter than the Hothead Torch and you must work to the side or make heat adjustment
where needed.
Before we get started I want to acknowledge that people with all levels of beadmaking
experience will be using this Tutorial. I have another Tutorial that offers basic information
and tips for beginners and those with less time on the torch. If you are relatively new to
lampworking I would encourage you to read through that Tutorial too.
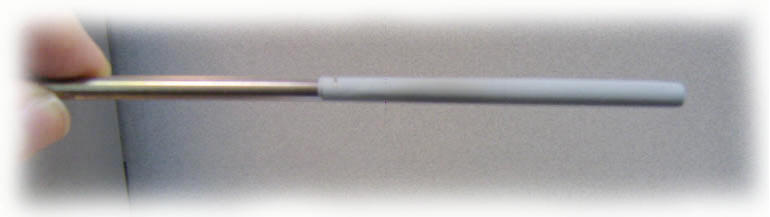
PREPARING YOUR MANDREL
BHB mandrels are thick and hefty to handle, but once you get used to them your fingers
don't notice as you turn them in the flame. If your mandrels are new, clean them to remove
any residue. You can also burn them in the flame before use.
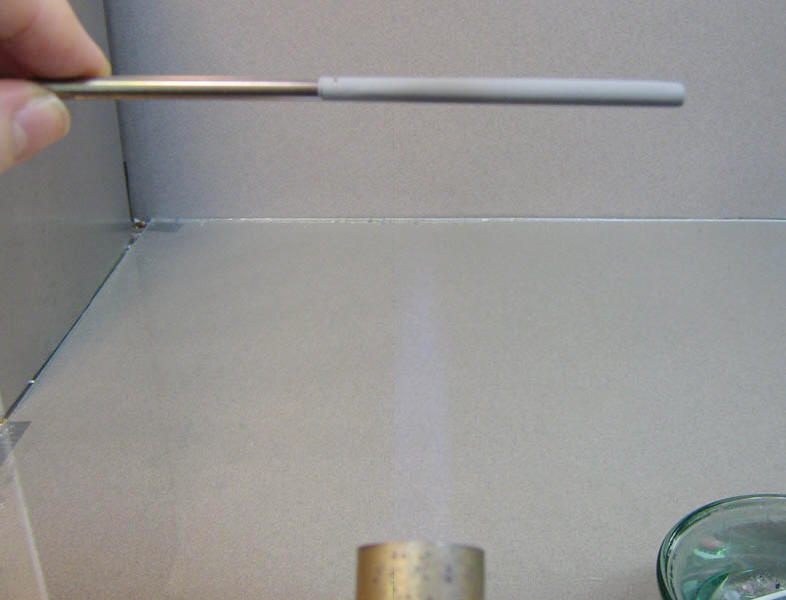
To coat your mandrel with Bead Release, shake your bottle of Bead Release very well and
then open it and tilt it to the side. Put your mandrel in and press/roll it against the side,
letting it grate in your Bead Release against the side for a few turns. Then lift and slowly pull
straight up for an even coating. Pulling slow gives a thinner coating.
You do not want any bumps or swirls, or a ridge running up one side. If that happens put
the mandrel back in and roll against the side and pull out slowly again. If you have gunk or
chunks in your Bead Release it needs to be stirred and remixed well. Add Distilled water if
needed to thin it to a thin pudding thickness.
I like to gently roll or tap the very end/tip of my mandrel against the side of the jar after I
have pulled the mandrel out of the Bead Release - to remove the large dot of release that
usually ends up on the end. Next stand your mandrel straight up in a rack or can of rice, or
whatever you use to hold your mandrels upright as they dry.
If your Bead Release says it can be flame dried, then you can wave and roll the mandrel
high in the flame until the bead release is dry from end to end. Then bring your mandrel
down into the working area of the flame to heat it to a glow. You are going to slowly roll
the mandrel from one end to the other in the flame, watching the color change. Then go
back the other way just as slowly. Watch for gas escaping as you bring the mandrel to a
glow all along it's length.
This slow heating and glowing along it's length is very important. You must do it each time
you start a bead. The slow heating and glowing releases gases that form and would
become air bubbles in your bead.
The mandrel should be glowing when you are ready to apply and wrap your glass. If the
mandrel is not glowing your glass won't stick.
YOUR MANDREL HAND
When you are first starting out, if you are right handed it is natural to want to hold your
mandrel in that hand for control. But you need to learn to hold your mandrel in your left
hand for the greatest ease in lampworking as your skills progress.
The decorating you do and your tool use should be done with your right hand (if you are
right handed). I would encourage you to practice making simple spacer beads on a
smaller mandrel with the mandrel in your left hand until it is natural to you.
You can switch hands when working on a special piece, but I believe you will find that using
your left hand to hold the mandrel as your right hand holds your rods, Stinger and tools will
serve you best. It's worth the time and effort to learn this new way of holding and turning
your mandrel if you don't already do it.
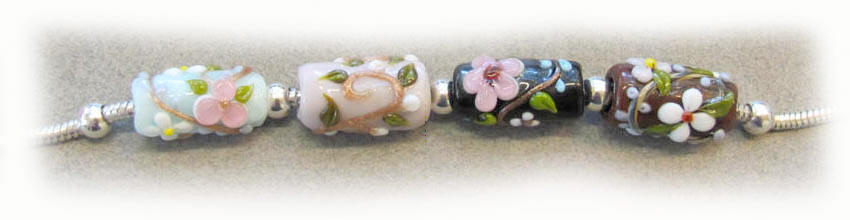

…How to make (and rake) a basic Big Hole Bead…
Here we go! This Tutorial will give you the steps needed to make a standard sized BHB using
Stringer. This BHB is 3 wraps wide and 2 to 3 layers high, and then it is rounded and
decorated. You can make your base bead as wide or as narrow as you like by how many
rings/wraps you make with Stringer. Counting your wraps and layers will give you uniform
sized BHB's if you are making a set.
To make the extra wide barrel BHB's pictured, make your wraps to a width of about ¾''. Use
the steps listed and then decorate to your hearts content!
As you wrap your layers for this pictured BHB, imagine that you are making a box shape. A
nearly square box shape of wraps will give you the amount of glass needed to round over
the top and have nice sides. If you do not have enough glass in your 'box' shape, when you
round the bead and the glass shifts to the middle (as it always will) you will end up with
sharp edges around your holes. You want a softly rounded tire-tube shape that rounds out
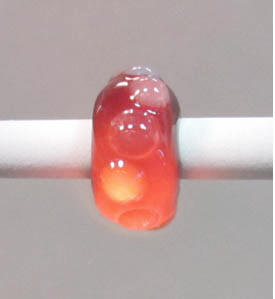
on the sides just a little. The bead above is higher than it's original wrapped box because
the decoration dots were melted in and the extra volume made it taller. Count that in as
you make your beads. The amount of decoration affects the height.
If you haven't read it already, please go back and read 'Preparing Your Mandrel'. You
need to do those steps in the flame everytime you start a bead whether it's a BHB or a bead
made with a smaller sized mandrel.
This Tutorial also shows you how to create the raked design shown on the bead above. You
can decorate your BHB in endless ways. Research other styles and designs and try your
hand at it. Don't be hard on yourself, your skills and beads will improve with practice.
WHAT YOU WILL NEED…
1. Thick Stringers of Black to make the base bead
2. 1 Stringer each of White, Pink and Green (if you are using Devardi glass I suggest that
you use SOP White, SOP Lt. Plum Pink and Opaque Frog Green)
3. BHB mandrel dipped in Bead Release
4. Shaping Tool (like a flat-edged stainless or brass tool) a Dental Pick and a Marver
5. Small bowl of Distilled Water to cool hot tools
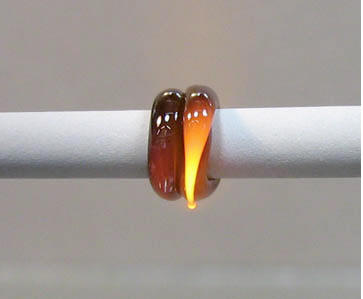
1. First, prepare your mandrel in the flame as directed in the section titled 'Preparing Your
Mandrel'. The outcome of your bead depends on how well you do this step. You are going
to be working about 4'' from the end of your torch head, and to the side when you need a
cooler flame area.
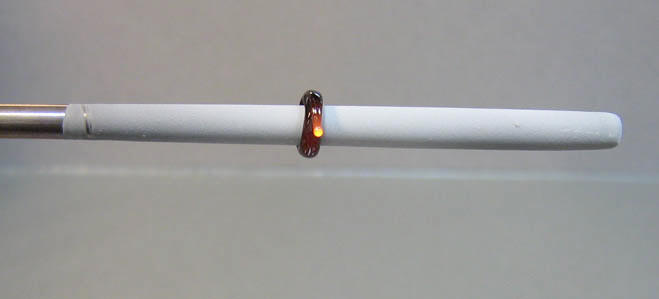
2. Gently heat the tip of your Stringer to a soft glow and set it on the well-heated mandrel.
Roll the mandrel up and away from you. As you reach the beginning of your wrap you
should start to stretch the Stringer in the flame – pulling it gently to a point and flame cut it
laying on the ring you just made.
|
|
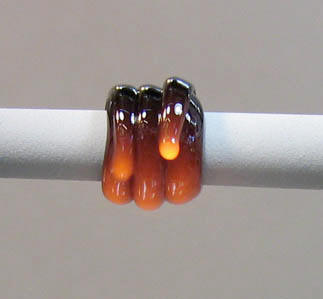 |
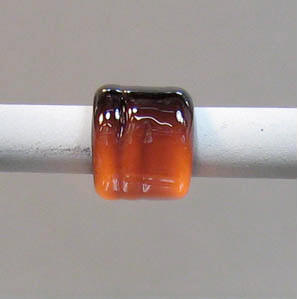
3. Make your second and third wraps the same way. Try hard to simply lay the Stringer around the
mandrel as you heat and wrap it around the mandrel. That way the Stringer goes on the same
thickness all the way around. When you flame cut the last ring stretch it in a bit - toward the middle.
You want your outer edges to be smooth and neat, so you don't want a tab of glass hanging over
the mandrel on the side as you flame cut it.
|
|
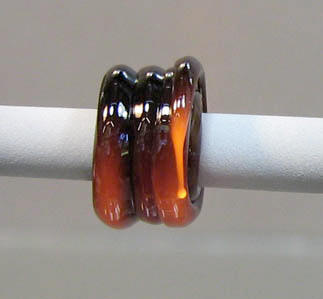 |
4. Heat your first layer of wraps and gently roll them on a marver to smooth them. Do one side at a
time - go slowly and very gently roll on the marver. I hold my marver up under the flame and heat
the bead to a glow like this, and then gently roll about 1/3 of the bead at a time. Then I heat the
next section and roll, until the barrel is fairly well smoothed.
5. Now use your stringer to wrap the second layer on and stretch the end slightly in toward the
middle.
6. Use your flat edge tool to scoot or gently press coils toward each other, and to close up an gaps.
You can use a tool at any stage to shape or close up glass. If you want a high or thick BHB, smooth
again and add another wrap around the mandrel.
|
|
 |
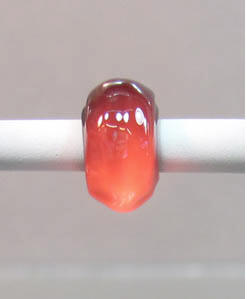
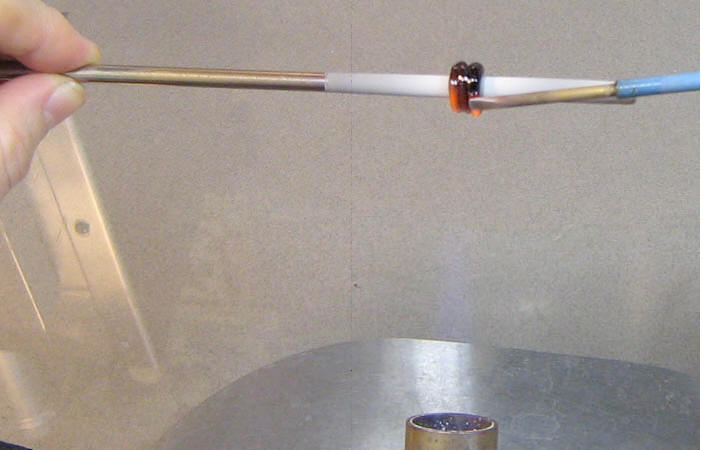
7. Use your tool to gently shape any extremely out of shape spots (if needed), and then use the
flame to round the bead. Bring it to a gentle glow. Keep the mandrel level as you heat or you will
have an uneven bead. Turn the mandrel to focus flame on the outside edge if needed. You want
to pay special attention to the sides. If needed, gently touch around the mandrel hole with your flat
brass tool to help join any ridges, and then use your flame for final smoothing.
If you bead gets soupy and starts to droop you are heating it to much, or holding it to close to the
torch head. Raise up more in the flame. You can bring the bead to a glow once it is rounded and
then remove it from the flame while continuing to turn it, and the cooling contraction of the glass will
help to round it. Do this only for several turns so it doesn't get to cool, and then bring it back into the
flame. You can repeat this process to help with rounding.
You are ready to decorate your BHB now. If you want to created the raked bead shown above
continue with these steps.
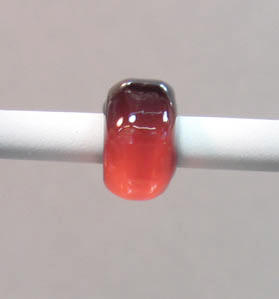
8. Next gently roll the bead on your marver to give a slightly flattened surface. This will make it easier
to apply the dots.
|
|
|
|
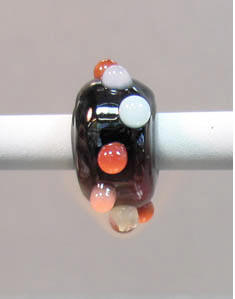
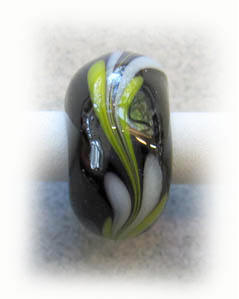
9. Now you are going to apply your dots in a wavy pattern, one color after another all the way
around the bead. I applied mine in this order: Pink, White, Green
Heat the tip of your stringer and set the dot on the place you want it. Lift off and flame cut the
stringer. Briefly heat the dot to round it before picking up the next stringer. When you have all your
dots placed begin to slowly roll and heat to melt them in. When you barely have bumps left it is time
to rake the bead.
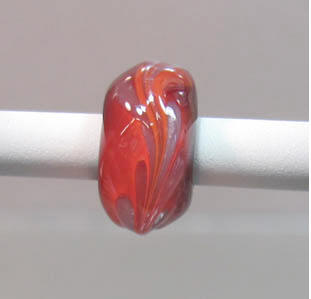
10. To rake, you take your pick and gently insert the tip at the outside center edge of a dot. You
only insert it to the depth of an envelope or less – just barely hook the surface. Keep the bead in the
flame as you draw the hook over the wavy line of dots. When you reach the beginning, continue to
draw just a bit farther - right through the center and stretch cut it off.
11. Now continue to roll the bead and gently reheat to a glow. Remove from the flame to round it
and then hold it up in the higher end of the flame for several rolls to let it stabilize. Then put it in your
annealing kiln or where you cool your hot beads. Congrats! Now make another one!