|
|
FOR PROFESSIONAL USE ONLY
|
|
|||||
|
|
|
|
|
|
|
|
|||
|
FOR PROFESSIONAL USE ONLY
|
|
|
|
|
|
|
| Watch Video 1 Watch Video 2 videos are of the old style. New videos will be on the way soon. |
|
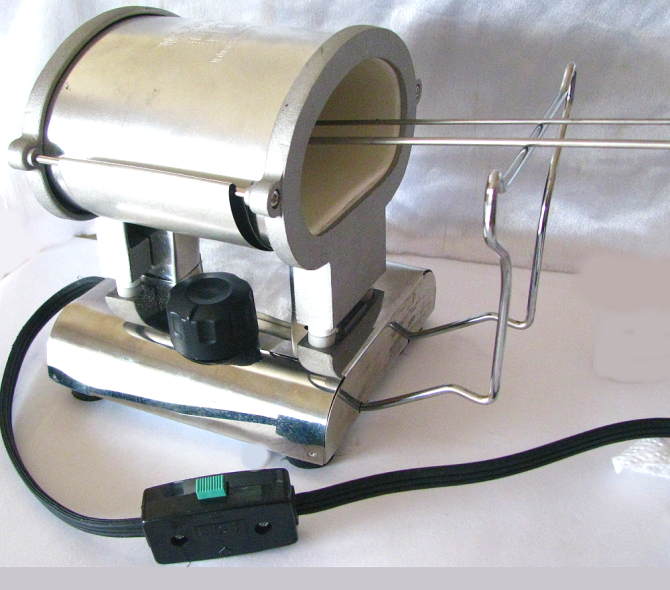
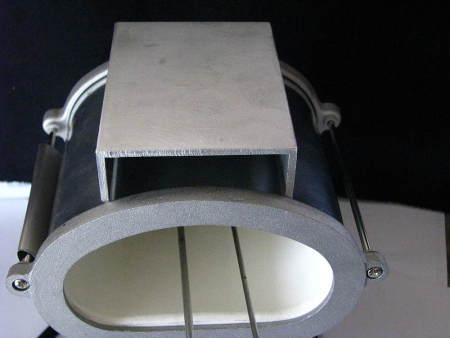
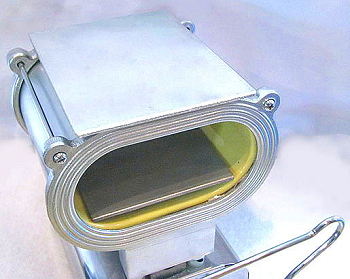
This mini stove (kiln) has been designed specifically for glass annealing (rather than for hair tools). The opening measures 2 INCHES HIGH X 4 INCHES WIDE x 4.5 inches deep. THIS MINI ANNEALER WORKS EXCELLENT FOR ANNEALING SMALL SCALE COE 104 GLASS ITEMS AND NOW BORO COE 33. WE GUARANTEE SATISFACTION OR YOUR MONEY BACK. We have thoroughly tested this mini annealer. We tested temperature consistency, ramp down consistency and glass bounce test where the hardness of the annealed beads is tested. All our tests proved excellent. We are very happy with the results. We have received many, many emails from our customers who are also very pleased with the results of this annealer. This annealer can also be used as a rod warmer. Just turn the thermostat down a few clicks. You will also need the floor plate sold below to rest the rods on. You can also rest them on the rack in the back if you prefer. This rack comes with the annealer. PLEASE CLICK HERE TO READ WHAT CORNING GLASS HAS TO SAY ABOUT ANNEALING GLASS. There is also a link to some videos on this page by Corning Glass. Our mini annealer follows precisely what Corning Glass states is required to anneal glass. Corning Glass is considered to be the world's leading expert in glass. |
|
|
|
|
|
|||||
|
So how does this annealer work? |
|||||
|
1. Plug the unit into a standard 110 volt outlet for USA models or 240 volt for European models. |
|
|
|
2. Once the unit is plugged in, PRESS the GREEN switch on the ELECTRICAL CORD. |
|||
|
3. Turn the thermostat knob clockwise all the way until it stops. |
|||
|
|||
|
4. Wait approximately 30 minutes. This is a sufficient amount of time for the unit to reach the correct temperature. |
|
|
|
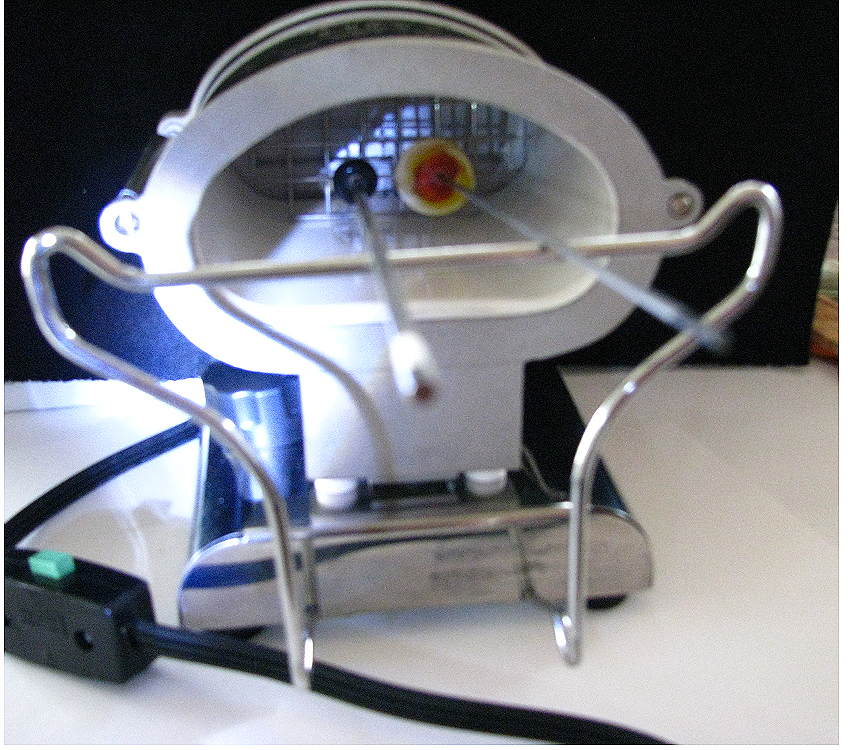
5. As you make your beads, slide the end of the mandrel with the bead into the annealer and rest it on the rack provided as pictured above. Rest the other end of the mandrel that you handle on the outside bar provided. |
|||||
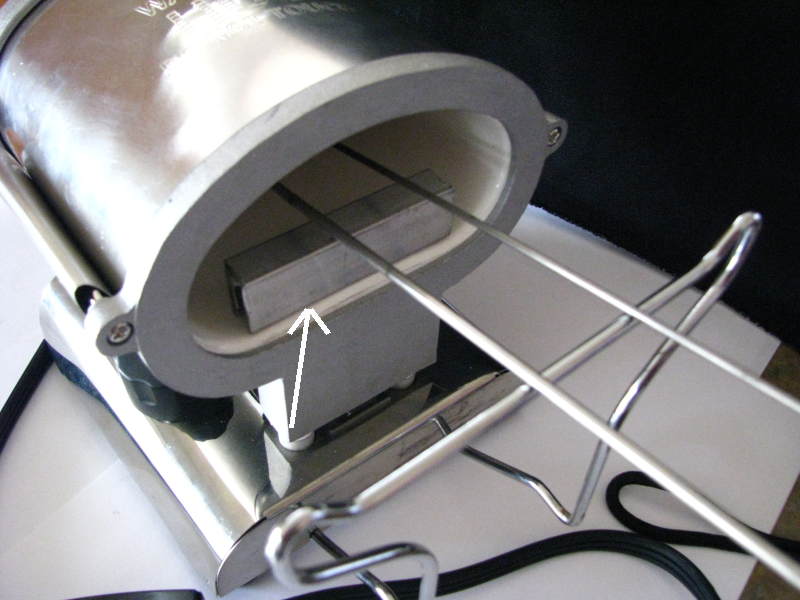
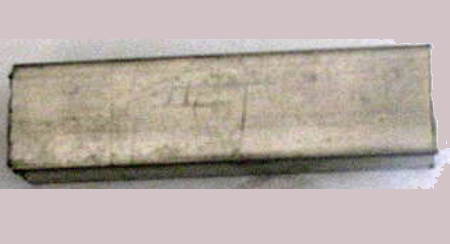
6. Once you have made your beads you are ready to
begin the annealing process. Boro glass requires a higher annealing
temperature than soft glass. Therefore, to anneal boro at the proper
temperature, an aluminum heat control bar must be inserted at the entrance
of the annealer as in the picture below. This small bar will hold enough
heat inside to raise the annealing temperature required by boro glass. This
bar is sold separately below. This boro bar is not needed to anneal soft
glass. For boro annealing, place the bar at the entrance of
the annealer under your mandrels as in the picture below. Please use some
long nosed pliers to do this to avoid burns.
|
|
7. After at least 2 hours soaking time, you are ready to begin ramping down the temperature. Turn the thermostat knob counterclockwise slowly until you hear the thermostat click. Stop when you hear this click. If you do not hear this click, you can use 10 minute intervals on the dial. (turn the knob about 1/6 of a full circle counterclockwise). This turns the stove off and will allow the stove to begin cooling down. Wait approximately 15 - 20 minutes. More time is ok. Less is not. Be sure to wait at least 15 minutes. If the thermostat fluctuates again, this is ok. Your bead temperature will not fluctuate. Only the air temperature in the annealer will. 8. After 15 - 20 minutes, turn the thermostat knob counterclockwise again, slowly, until you hear the click again. Each time you turn the thermostat down until you hear a click, this will allow the unit to cool another 50 degrees or so over a period of about 15 - 20 minutes. Continue to do this every 15 - 20 minutes until you have reached the "stop" in the thermostat knob that prevents you from turning it any further counterclockwise. At this point, turn off the green switch and allow the unit to cool naturally to room temperature. You can cover the annealer at this point with a ceramic fiber blanket if you wish. This is actually best. I also put a small piece above and below the mandrels to cover the opening. Just be sure to NEVER cover this annealer when it is in the "on" position. |
|||||
|
You are done. :) |
|||||
|
SPECIAL NOTE: Be sure to not place orange/red hot beads in the annealer. This can result in beads sagging or sticking to each other. Only slightly red, or less, is proper. Never cover the opening of the annealer in the "on" position. This will ruin the annealer and could cause an unsafe condition. Always test your first batch by annealing some test beads.
|
|||||
|
This Mini Bead Annealer is for professional use only. It is not intended to be used in the home around children or pets. It gets hot on the outside and can cause burns if touched. Please keep this stove on a metal desktop or other nonflammable surface, and away from combustible materials, children and pets. Never touch the outside of the stove when it is on. This unit must be monitored at all times when it is in use. |
|
Electrical Specs: 450 watts, 110 volts, 4.1 amps. Or 450 watts 240 volts, 2 amps for European models. Thermostatically controlled. |
|
Here is a picture of the USA 110 volt Annealer electrical plug: |
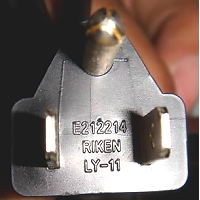
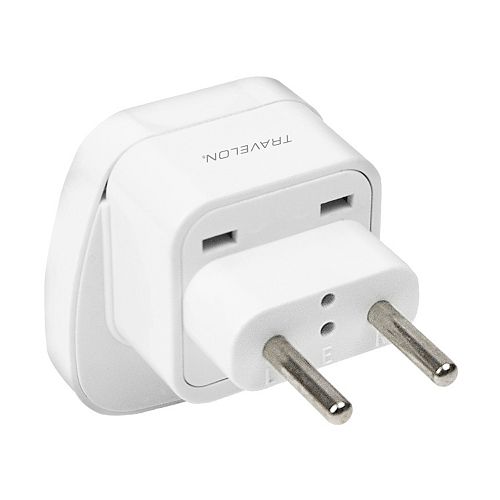
International Annealer Plug 240 Volt pictured below |
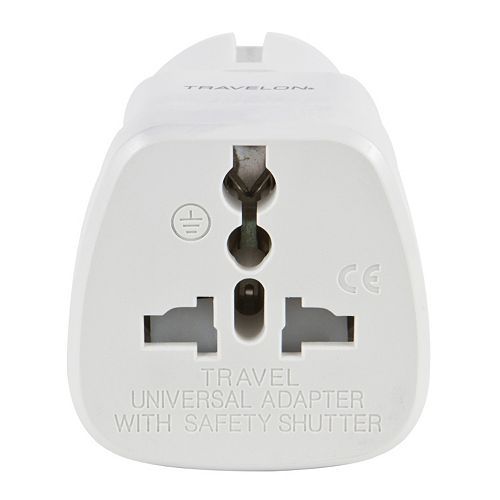
Universal adapters for different 240 receptacles. Showing both sides of one adapter. $3.99 each |
|
|
|
  |
|
$89.95 Each.
|
||
|
|
||
|
|
|
If you're international, but use 110 volt, please notify us by email. Otherwise, we will ship you a 220 volt unit. |
|
If you're in the USA, but prefer a 220 volt unit, please email us. Otherwise, we will ship you a 110 volt unit. |
* Warranty - 6 Months from the date of purchase. Restrictions apply:
| First 30 to 90 days after purchase date, free replacement of a defective unit. We pay the shipping both ways. |
| From 90 days to 180 days after purchase date, we will repair a defective unit free of charge. Customer pays to ship unit to us, we pay to ship the unit back to the customer. |
|
Some nice feedback from our customers on the Mini Annealer: |
|||
|
|||
|
Your Bead annealer SAVED MY LIFE! Fantastic idea, job,product, etc. I cannot begin to express how much i appreciate this product! Not to mention that it does everything and more of what is listed. Also, the FASTEST shipping I have ever encountered! Thank you Devardi! |
| I couldn't and wouldn't ever have expected the wonderful outcome! The annealed ones are almost as strong as brick-bats...lol |
|
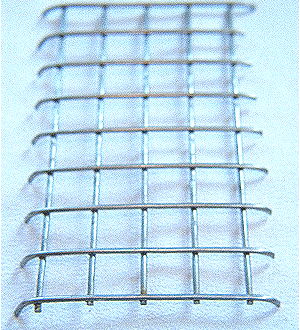
If you need to anneal items other than something that will be on a mandrel, such as marbles, pendants and other things, the rack below is necessary. This will sit on the bottom of the annealer but will allow a space between the object being annealed and the annealer floor. You cannot place a glass object directly on the annealer floor. It sill stick. |
||||||
|
|
|||||
| Using the Mini Bead Annealer as a rod warmer. |
|
This Mini Annealer can also be used as a rod warmer inside, and a murini warmer on top. If you intend on using it for that, the plates below will prevent glass from sticking to the stove. |
|||
|
|
|
|
||||